Pin
Pin Last summer, I got obsessed with the idea of making restaurant-quality ice cream at home without all the fuss. A friend had just bought a Ninja Creami and wouldn't stop raving about it, so naturally I had to try it myself. The first time I blended up this protein-packed base and watched it transform into something creamy and satisfying, I realized I'd stumbled onto something special—a dessert that actually felt good to eat. It hit that sweet spot between indulgence and nutrition, which honestly doesn't happen often.
I made this for a group of friends after a workout, and I'll never forget how shocked they were when I told them how much protein was in each bowl. One friend actually asked for the recipe right there, bowl in hand, which is the ultimate compliment. That moment made me realize this wasn't just a convenient snack for me—it was something worth sharing.
Ingredients
- Greek yogurt: The creamy backbone that makes this whole thing work, and it brings serious protein to the party.
- Almond milk: This loosens up the mixture so it freezes into something scoopable instead of rock solid.
- Protein powder: Choose vanilla or chocolate depending on your mood; this is where most of the protein comes from.
- Maple syrup or sweetener: A light touch is all you need—you're building layers of flavor, not making candy.
- Vanilla extract: Just a teaspoon rounds out the flavor in a way that feels complete.
- Salt: A pinch brings everything into focus and makes the sweetness actually taste better.
- Berries, nut butter, chocolate chips, nuts, and seeds: These are your chance to make each bowl feel different—pick what speaks to you.
Tired of Takeout? 🥡
Get 10 meals you can make faster than delivery arrives. Seriously.
One email. No spam. Unsubscribe anytime.
Instructions
- Blend it smooth:
- Combine your Greek yogurt, almond milk, protein powder, maple syrup, vanilla, and salt in the blender. Blend until there are no lumps and it looks uniform throughout.
- Pour into your container:
- Transfer the mixture into your Ninja Creami pint or whatever freezer-safe container you're using. Make sure the surface is level so it freezes evenly.
- Freeze overnight:
- Pop it in the freezer for at least eight hours or overnight. This is where patience becomes your friend.
- Process or scoop:
- If you have a Ninja Creami, run it on Ice Cream mode. If you don't, let it sit on the counter for a few minutes, then scoop.
- Adjust texture as needed:
- Re-spin for extra creaminess or add a splash of milk if you want something softer. This step is all about making it exactly how you like it.
- Top and serve:
- Scoop into bowls and pile on your toppings. The contrast between cold ice cream and crunchy bits is what makes this feel special.
 Pin
Pin There's something almost meditative about opening the freezer in the afternoon and realizing you have this creamy reward waiting. It became my go-to when I wanted something satisfying that didn't feel like I was undoing my entire day.
Flavor Variations That Actually Work
I started experimenting after the first batch, and honestly some combinations surprised me. Cocoa powder mixed into the base creates a chocolate version that's richer than you'd expect, while instant coffee stirred in creates this mocha vibe that tastes sophisticated without being complicated. Fruit puree—strawberry or mango—swirled through before freezing adds natural sweetness and color. The beauty of this base is that it's a blank canvas, so you can play.
Making It Fit Your Diet
I have friends who eat vegan, and I wanted them to enjoy this too, so swapping the Greek yogurt for coconut yogurt or a creamy plant-based option works beautifully. Vegan protein powder does the same job, and honestly you can't taste the difference. If you're watching sugar, skip the sweetener entirely or use a small amount of honey or agave. The protein powder already brings a slight sweetness, so you might be surprised how little you actually need.
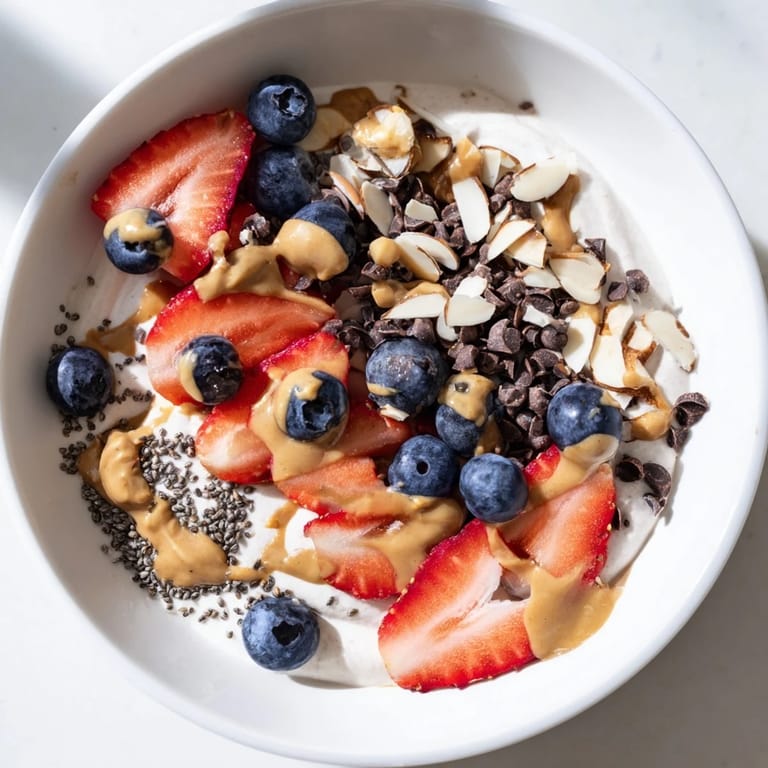
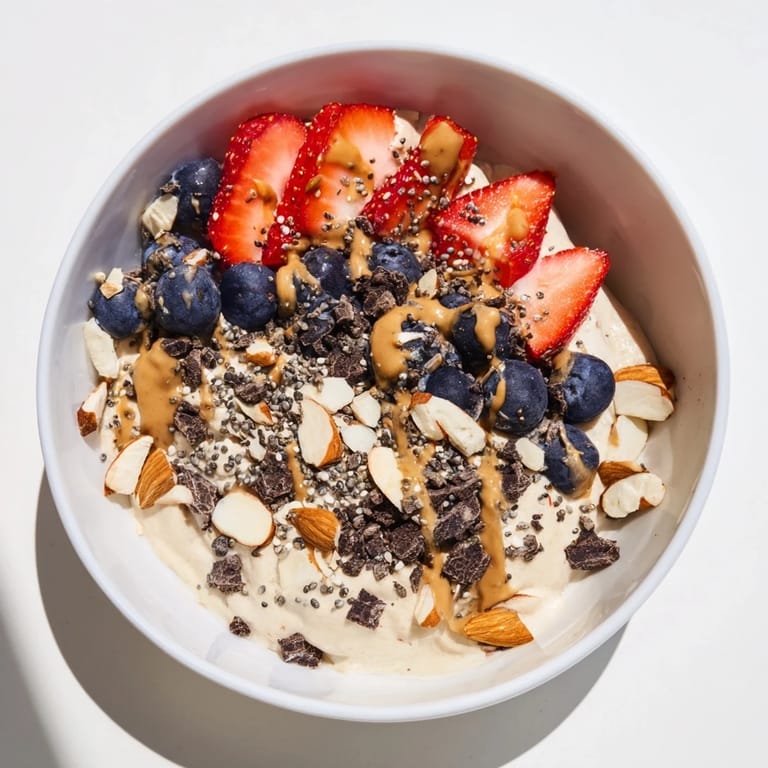
Toppings and Serving Ideas
The magic happens when you layer texture against that creamy base. Fresh berries give you brightness and a slight tartness that cuts through the richness, while nut butter adds this decadent creaminess. Dark chocolate chips introduce little bursts of intensity, and seeds scattered on top feel like you're adding something intentional and health-conscious. The best part is that each topping combination tells a different story.
- Mix berries with a drizzle of honey for something that feels like a proper dessert.
- Pile on granola or nuts if you want crunch and a more indulgent vibe.
- Chia seeds and fresh fruit lean into the clean, health-focused angle.
 Pin
Pin This recipe became my favorite kind of healthy treat because it never feels like you're being good—it just feels like you're treating yourself well. Every bowl is a little reminder that taking care of yourself can actually taste amazing.
Recipe FAQ
- → What ingredients create the base for this frozen bowl?
The base combines Greek yogurt or skyr, almond milk or milk of choice, vanilla or chocolate protein powder, maple syrup or sweetener, vanilla extract, and a pinch of salt, blended until smooth.
- → How long should the mixture be frozen?
Freeze the blended mixture for at least 8 hours or overnight to achieve the right frozen texture before serving.
- → Can I customize the toppings?
Absolutely. Popular options include fresh berries, nut butters, dark chocolate chips, chopped nuts, and chia or hemp seeds to add texture and flavor.
- → Is this bowl suitable for vegan diets?
Yes, by using plant-based yogurt and vegan protein powder, this frozen bowl can be made vegan-friendly without sacrificing creaminess.
- → How can I adjust the sweetness level?
Sweetness can be tailored by varying the amount of maple syrup or your preferred sweetener, or omitted entirely for a lower-sugar option.
- → What tools are needed to prepare this dish?
A blender and a freezer-safe container are essential, along with an ice cream machine or similar device for processing to achieve a creamy texture.